

01 DeepSeek Janus-Pro是什么
继成功推出DeepSeek-V3和DeepSeek-R1之后,DeepSeek又推出了Janus多模态模型的增强版产品Janus-Pro,继续推动人工智能的发展。在快速发展的人工智能领域,能够无缝理解和生成文本与图像内容的多模态模型正变得越来越重要。Janus-Pro 代表了这一领域的重大飞跃,具有优化的训练策略、扩展的数据集和架构创新。这一先进的模型为多模态理解和文本到图像生成树立了新的标杆。
DeepSeek Janus-Pro(简称:Janus-Pro),是中国人工智能初创公司DeepSeek于2025年1月28日发布的开源多模态AI模型 ,分为70亿参数和15亿参数两个版本,主要应用于文生图领域。
Janus-Pro是2024年11月13日发布的JanusFlow大模型的高级版本。相比前一代模型,Janus-Pro优化了训练策略、扩展了训练数据,模型也更大。通过改进,Janus-Pro 在多模态理解和文本到图像的指令跟踪功能方面都取得了重大进步,同时还增强了文本到图像生成的稳定性。 2025年2月4日,Janus-Pro正式上线昇腾社区,支持一键获取DeepSeek系列模型,支持昇腾硬件平台上开箱即用。
02 如何体验
Janus-Pro模型运行硬件要求
| 任务 | Janus-Pro-1B | Janus-Pro-7B |
| 图像识别 | 5G | 14G |
| 图像生成 | 14G | 38-42G |
本地设备无法满足显卡要求,我们通过互联网资源测试运行。
魔搭社区介绍
魔搭社区是阿里云推出的AI大模型开源社区,2022年云栖大会,阿里云推出了AI大模型开源社区“魔搭”,为开发者模型体验、下载、调优、训练、推理、部署等一站式服务。
魔搭社区成立的初衷是通过开源开放、社区共建的方式,降低AI模型使用门槛,推动大模型生态建设。在社区建设的过程中,魔搭社区邀请了许多国内外优质模型,同时提供了海量的数据集和一整套开放工具,让用户能轻松使用各式各样的大模型,实现多样化的模型微调、部署以及评测。在魔搭社区上,除了模型的开发者,还有很多AI应用开发者在搭建各种各样好玩的应用,也有开发者基于魔搭社区,通过搭模型来做大模型+产业的落地。
2023年11月,魔搭社区已有超过2300个模型,开发者超过280万,模型下载次数也超过了1亿多次。
使用Janus-Pro大模型
访问魔搭社区首页,https://www.modelscope.cn/,登录。
切换到创空间主页,看到提交的Janus-Pro-7B多模态,我们先试用下。

-
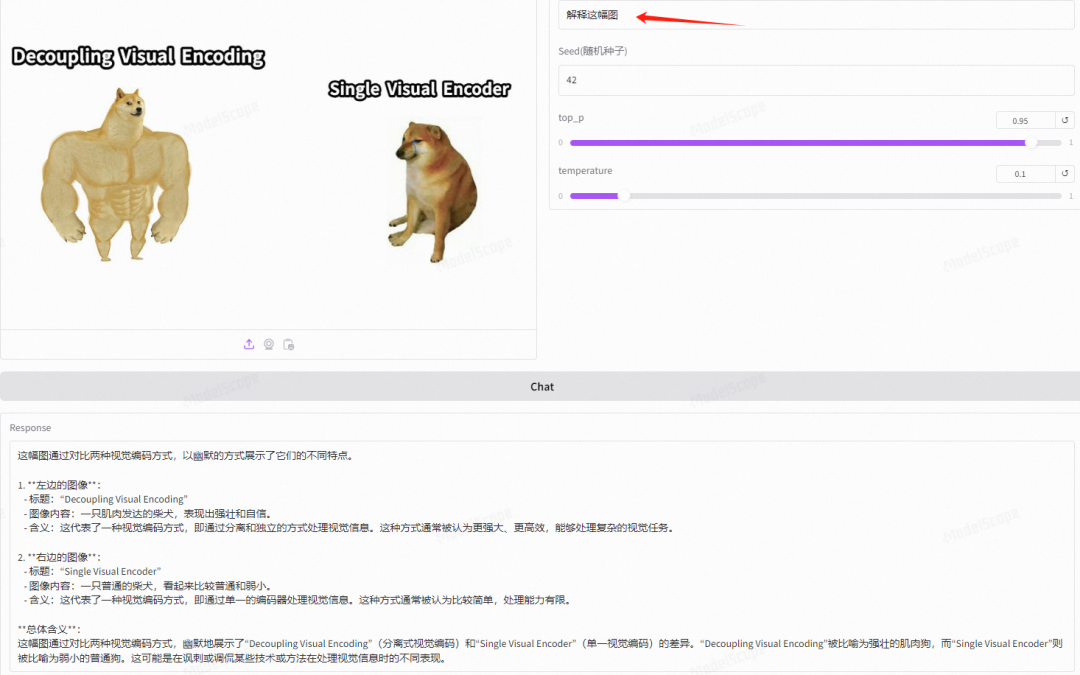
图像识别
点击后,打开如下界面。图的最下方给了2个官方示例(狗和数学公式)。
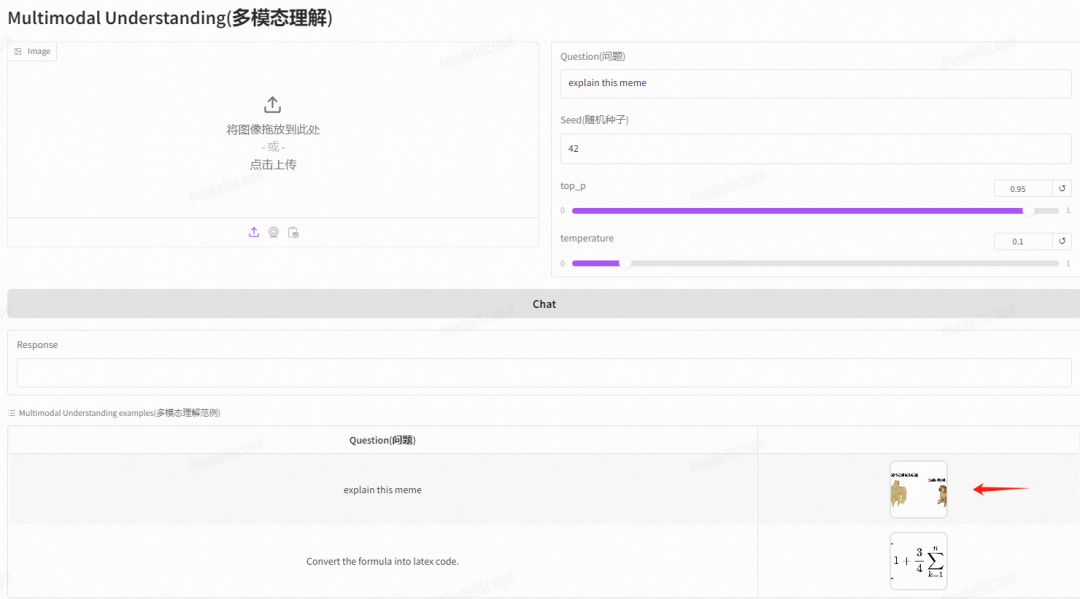
点击列表中的第一项,如箭头所示。
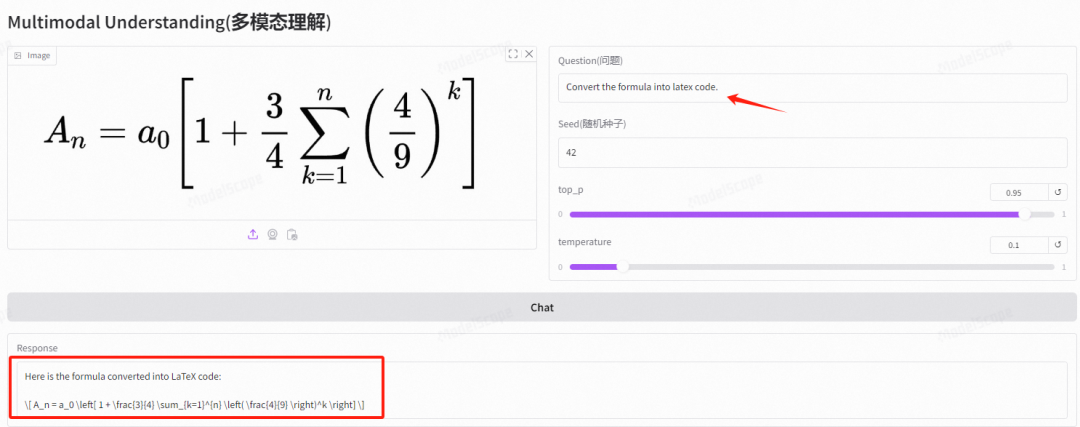
同样,我们对公式进行理解并输出为latex code
然后就是Janus-Pro的独门绝技,地标识别
 这个回复足以让人大吃一惊。这是库尔勒铁门关景区。

-
图像生成
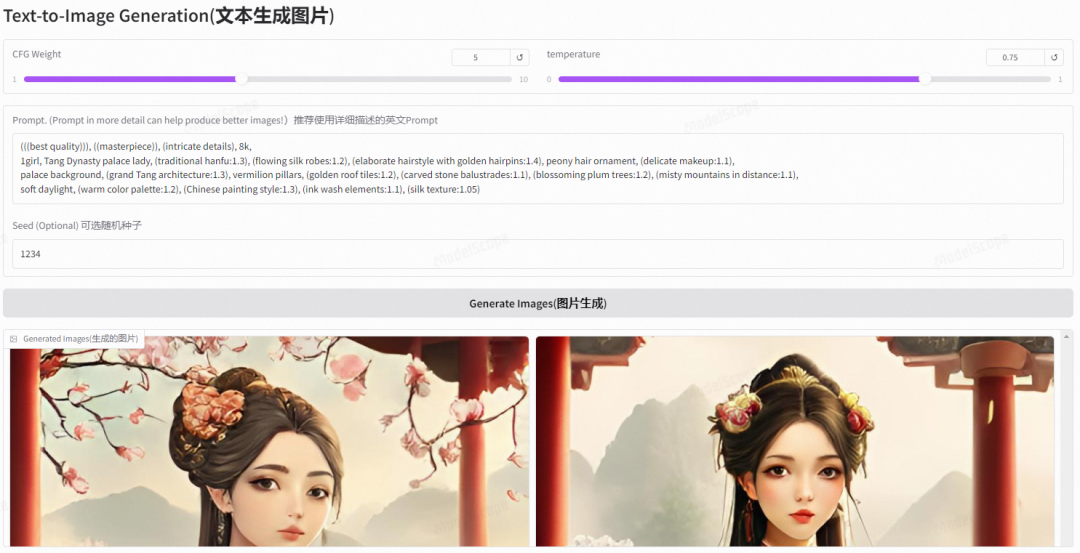
建议输入英文提示词,这是DeepSeek生成的提示词。
(((best quality))), ((masterpiece)), (intricate details), 8k,
1girl, Tang Dynasty palace lady, (traditional hanfu:1.3), (flowing silk robes:1.2), (elaborate hairstyle with golden hairpins:1.4), peony hair ornament, (delicate makeup:1.1),
palace background, (grand Tang architecture:1.3), vermilion pillars, (golden roof tiles:1.2), (carved stone balustrades:1.1), (blossoming plum trees:1.2), (misty mountains in distance:1.1),
soft daylight, (warm color palette:1.2), (Chinese painting style:1.3), (ink wash elements:1.1), (silk texture:1.05)
中文对照。
(((最佳质量))),(杰作),(精致细节),8K一位唐代宫女,(传统汉服:1.3),(飘逸的丝绸长袍:1.2),(配有金簪的精致发型:1.4),牡丹发饰,(精致妆容:1.1)宫殿背景,(宏伟的唐代建筑:1.3),朱红色柱子,(金色琉璃瓦:1.2),(雕花石栏杆:1.1),(盛开的梅树:1.2),(远处云雾缭绕的山峦:1.1)柔和的日光,(暖色调:1.2),(中国绘画风格:1.3),(水墨元素:1.1),(丝绸质感:1.05)
使用Stable Diffusion生成的图

使用Janus-Pro生成的图。


关于图质量的问题,有一些观点:
在多模态理解方面,由于Janus-Pro的输入分辨率被限制在384×384,影响了模型在OCR等需要精细识别的任务上的表现。
在文本生图方面,较低的分辨率以及视觉Token编码器引入的重建损失,导致生成的图像细节表现上仍有不足,并且这种问题也可能导致语义理解失败。
但瑕不掩瑜,希望Janus-Pro越来越强大。
03 在魔搭社区自己动手搭建
步骤1:资源准备
在魔搭社区首页,点击【我的Notebook】,可以看到CPU和GPU资源。其中CPU资源可以申请,长期使用。GPU资源提供24G显存,36小时的额度,对付一般应用绰绰有余。
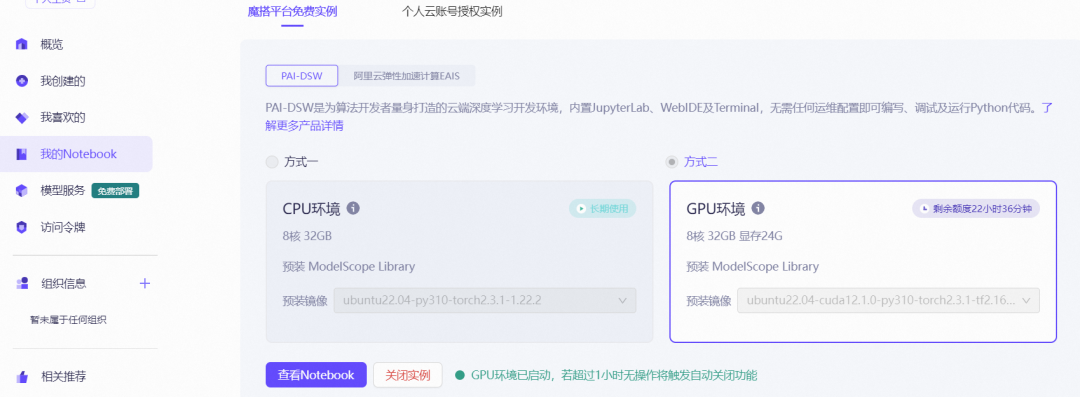
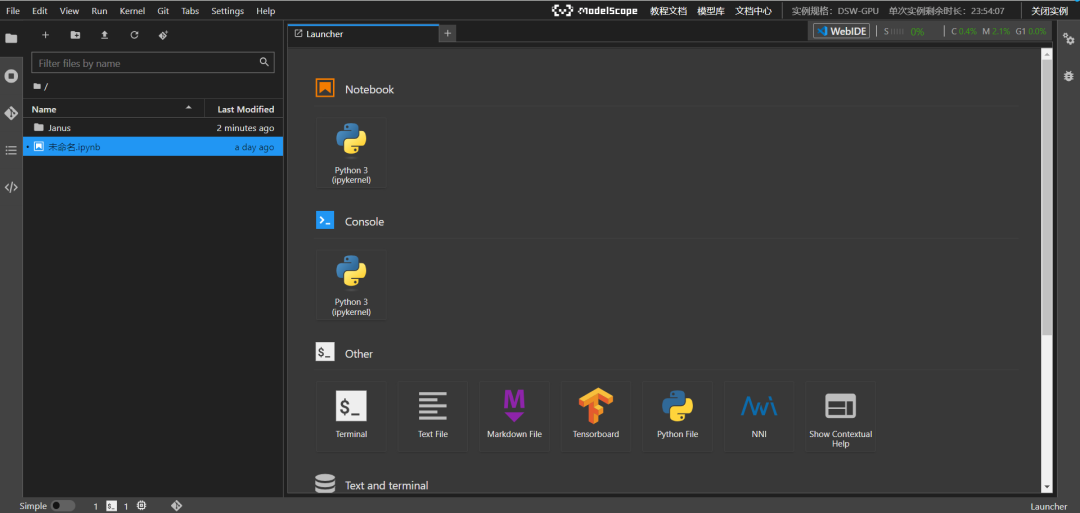
点击【查看Notebook】按钮。进入到Notebook界面。后续的操作我们都在这里完成。
步骤2:克隆Janus-Pro仓库
点击上图中的“Terminal”打开终端界面。
当前的目录为:/mnt/workspace/
克隆Janus-Pro仓库地址: git clone https://github.com/deepseek-ai/Janus.git

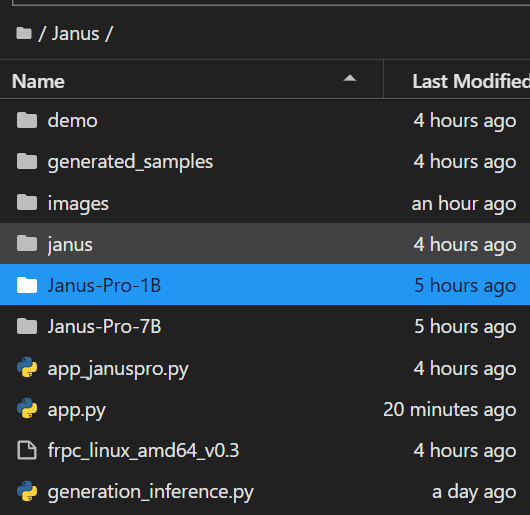
仓库下载后的代码文件。

步骤3:下载1B和7B模型
创建模型权重目录
在/mnt/workspace/Janus目录下使用命令创建模型权重目录。
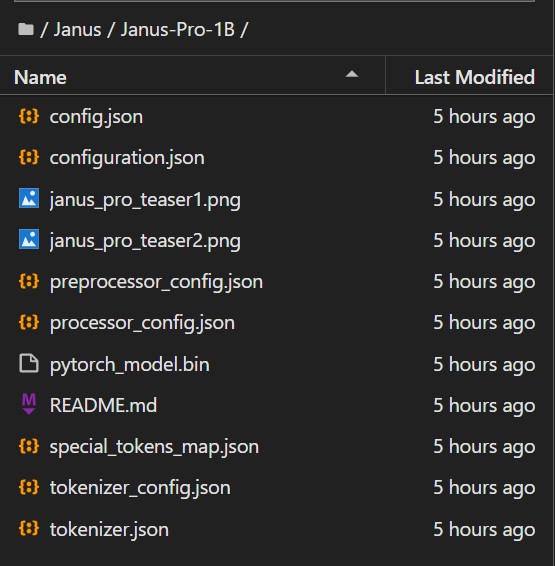
mkdir Janus-Pro-1B
mkdir Janus-Pro-7B
创建目录后如图所示。
下载模型权重文件
使用modelscope download命令下载模型权重文件。
modelscope download –model deepseek-ai/Janus-Pro-1B –local_dir ./Janus-Pro-1B
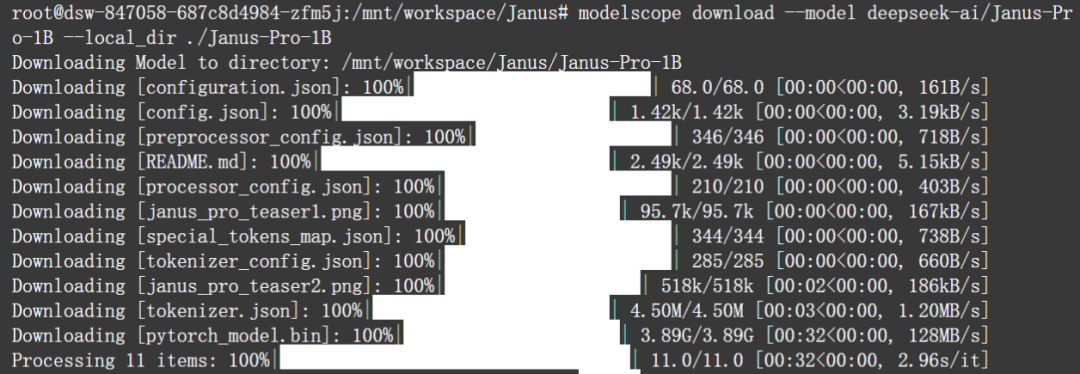
下载后的文件信息。
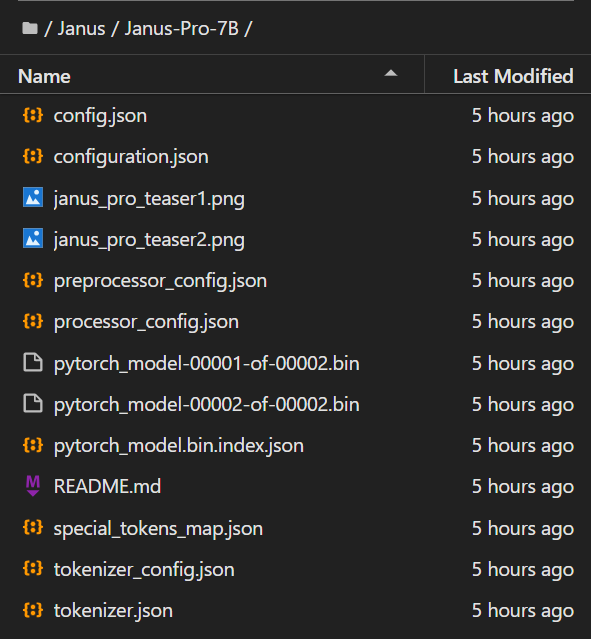
modelscope download –model deepseek-ai/Janus-Pro-7B –local_dir ./Janus-Pro-7B
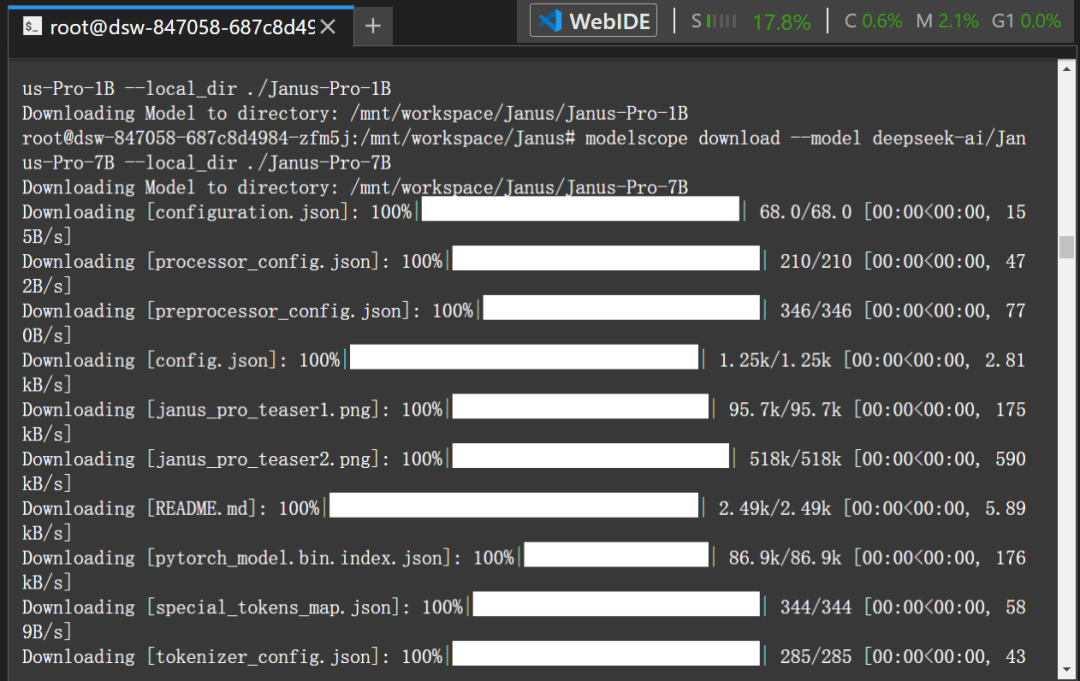
下载后的文件信息。
步骤4:图像识别功能实现
inference.py代码如下。
其中将model_path修改为当前的模板路径。
修改的conversation列表中提示词和具体的图片。
import torch
from transformers import AutoModelForCausalLM

from janus.models import MultiModalityCausalLM, VLChatProcessor
from janus.utils.io import load_pil_images

# specify the path to the model
model_path = "Janus-Pro-1B"
vl_chat_processor: VLChatProcessor = VLChatProcessor.from_pretrained(model_path)
tokenizer = vl_chat_processor.tokenizer

vl_gpt: MultiModalityCausalLM = AutoModelForCausalLM.from_pretrained(
    model_path, trust_remote_code=True
)
vl_gpt = vl_gpt.to(torch.bfloat16).cuda().eval()

conversation = [
    {
        "role": "User",
        "content": "<image_placeholder>\n请解释这幅图.",
        "images": ["images/doge.png"],
    },
    {"role": "Assistant", "content": ""},
]

# load images and prepare for inputs
pil_images = load_pil_images(conversation)
prepare_inputs = vl_chat_processor(
    conversations=conversation, images=pil_images, force_batchify=True
).to(vl_gpt.device)

# # run image encoder to get the image embeddings
inputs_embeds = vl_gpt.prepare_inputs_embeds(**prepare_inputs)

# # run the model to get the response
outputs = vl_gpt.language_model.generate(
    inputs_embeds=inputs_embeds,
    attention_mask=prepare_inputs.attention_mask,
    pad_token_id=tokenizer.eos_token_id,
    bos_token_id=tokenizer.bos_token_id,
    eos_token_id=tokenizer.eos_token_id,
    max_new_tokens=512,
    do_sample=False,
    use_cache=True,
)

answer = tokenizer.decode(outputs[0].cpu().tolist(), skip_special_tokens=True)
print(f"{prepare_inputs['sft_format'][0]}", answer)
执行文件如下。
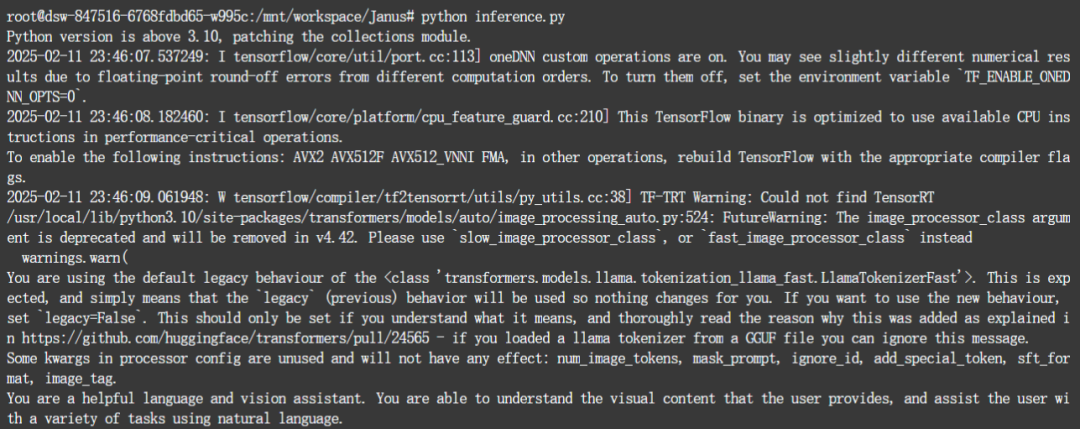
输出图片的解析。

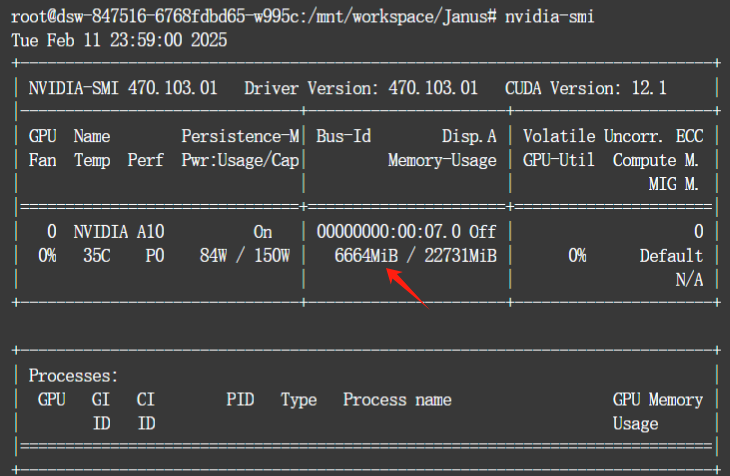
显存占用情况。
步骤5:文生图功能实现
interactivechat.py代码如下。
将model_path换成当前的模型目录。
import os
import PIL.Image
import torch
import numpy as np
from transformers import AutoModelForCausalLM
from janus.models import MultiModalityCausalLM, VLChatProcessor
import time
import re

# Specify the path to the model
model_path = "Janus-Pro-1B"
vl_chat_processor: VLChatProcessor = VLChatProcessor.from_pretrained(model_path)
tokenizer = vl_chat_processor.tokenizer

vl_gpt: MultiModalityCausalLM = AutoModelForCausalLM.from_pretrained(
    model_path, trust_remote_code=True
)
vl_gpt = vl_gpt.to(torch.bfloat16).cuda().eval()


def create_prompt(user_input: str) -> str:
    conversation = [
        {
            "role": "User",
            "content": user_input,
        },
        {"role": "Assistant", "content": ""},
    ]

    sft_format = vl_chat_processor.apply_sft_template_for_multi_turn_prompts(
        conversations=conversation,
        sft_format=vl_chat_processor.sft_format,
        system_prompt="",
    )
    prompt = sft_format + vl_chat_processor.image_start_tag
    return prompt


@torch.inference_mode()
def generate(
    mmgpt: MultiModalityCausalLM,
    vl_chat_processor: VLChatProcessor,
    prompt: str,
    short_prompt: str,
    parallel_size: int = 16,
    temperature: float = 1,
    cfg_weight: float = 5,
    image_token_num_per_image: int = 576,
    img_size: int = 384,
    patch_size: int = 16,
):
    input_ids = vl_chat_processor.tokenizer.encode(prompt)
    input_ids = torch.LongTensor(input_ids)

    tokens = torch.zeros((parallel_size * 2, len(input_ids)), dtype=torch.int).cuda()
    for i in range(parallel_size * 2):
        tokens[i, :] = input_ids
        if i % 2 != 0:
            tokens[i, 1:-1] = vl_chat_processor.pad_id

    inputs_embeds = mmgpt.language_model.get_input_embeddings()(tokens)

    generated_tokens = torch.zeros((parallel_size, image_token_num_per_image), dtype=torch.int).cuda()
    outputs = None  # Initialize outputs for use in the loop

    for i in range(image_token_num_per_image):
        outputs = mmgpt.language_model.model(
            inputs_embeds=inputs_embeds,
            use_cache=True,
            past_key_values=outputs.past_key_values if i != 0 else None
        )
        hidden_states = outputs.last_hidden_state

        logits = mmgpt.gen_head(hidden_states[:, -1, :])
        logit_cond = logits[0::2, :]
        logit_uncond = logits[1::2, :]

        logits = logit_uncond + cfg_weight * (logit_cond - logit_uncond)
        probs = torch.softmax(logits / temperature, dim=-1)

        next_token = torch.multinomial(probs, num_samples=1)
        generated_tokens[:, i] = next_token.squeeze(dim=-1)

        next_token = torch.cat([next_token.unsqueeze(dim=1), next_token.unsqueeze(dim=1)], dim=1).view(-1)
        img_embeds = mmgpt.prepare_gen_img_embeds(next_token)
        inputs_embeds = img_embeds.unsqueeze(dim=1)

    dec = mmgpt.gen_vision_model.decode_code(
        generated_tokens.to(dtype=torch.int),
        shape=[parallel_size, 8, img_size // patch_size, img_size // patch_size]
    )
    dec = dec.to(torch.float32).cpu().numpy().transpose(0, 2, 3, 1)

    dec = np.clip((dec + 1) / 2 * 255, 0, 255)

    visual_img = np.zeros((parallel_size, img_size, img_size, 3), dtype=np.uint8)
    visual_img[:, :, :] = dec

    os.makedirs('generated_samples', exist_ok=True)

    # Create a timestamp
    timestamp = time.strftime("%Y%m%d-%H%M%S")

    # Sanitize the short_prompt to ensure it's safe for filenames
    short_prompt = re.sub(r'\W+', '_', short_prompt)[:50]

    # Save images with timestamp and part of the user prompt in the filename
    for i in range(parallel_size):
        save_path = os.path.join('generated_samples', f"img_{timestamp}_{short_prompt}_{i}.jpg")
        PIL.Image.fromarray(visual_img[i]).save(save_path)


def interactive_image_generator():
    print("Welcome to the interactive image generator!")

    # Ask for the number of images at the start of the session
    while True:
        num_images_input = input("How many images would you like to generate per prompt? (Enter a positive integer): ")
        if num_images_input.isdigit() and int(num_images_input) > 0:
            parallel_size = int(num_images_input)
            break
        else:
            print("Invalid input. Please enter a positive integer.")

    while True:
        user_input = input("Please describe the image you'd like to generate (or type 'exit' to quit): ")

        if user_input.lower() == 'exit':
            print("Exiting the image generator. Goodbye!")
            break

        prompt = create_prompt(user_input)

        # Create a sanitized version of user_input for the filename
        short_prompt = re.sub(r'\W+', '_', user_input)[:50]

        print(f"Generating {parallel_size} image(s) for: '{user_input}'")
        generate(
            mmgpt=vl_gpt,
            vl_chat_processor=vl_chat_processor,
            prompt=prompt,
            short_prompt=short_prompt,
            parallel_size=parallel_size  # Pass the user-specified number of images
        )

        print("Image generation complete! Check the 'generated_samples' folder for the output.\n")


if __name__ == "__main__":
    interactive_image_generator()
代码执行后,
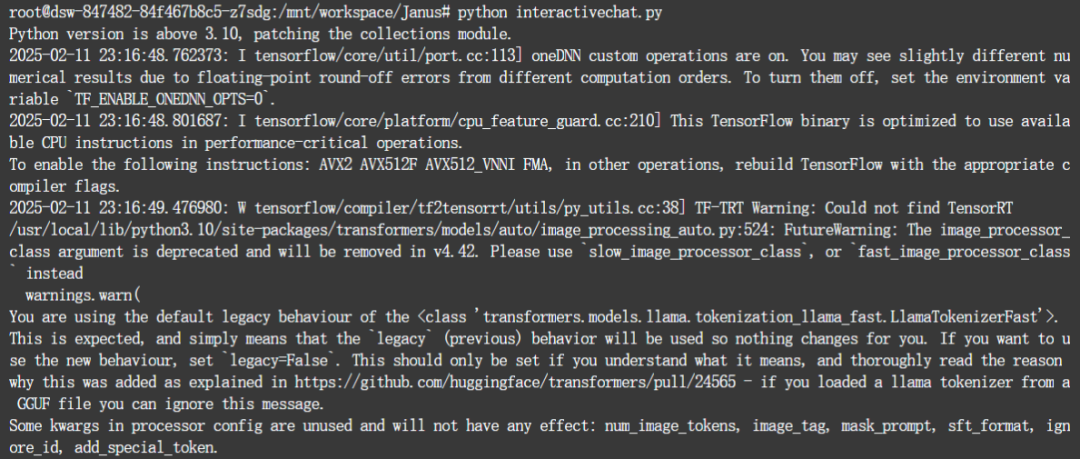
输入生成的图片数量,比如16个。
输入提示词,比如 一个卡通风格的女孩。

命令执行成功后,会生成generated_samples目录,同时生成16张图片。
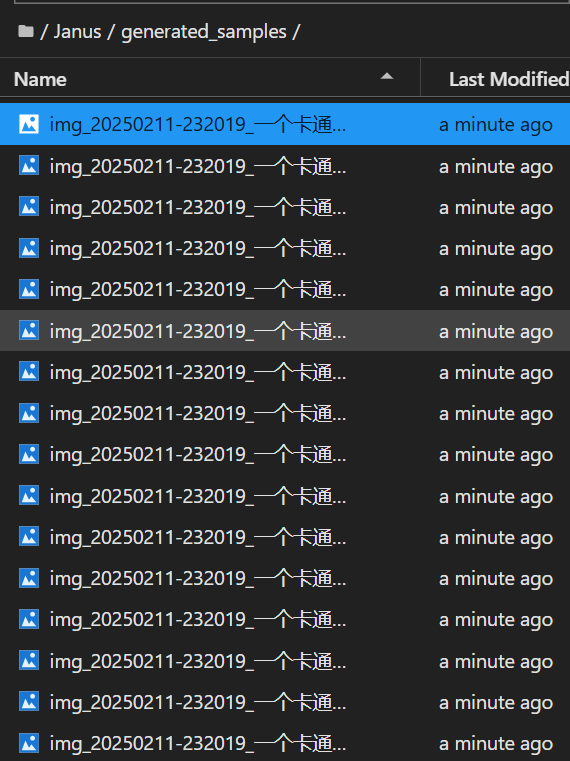
打开看一看,效果还是不错的。


此外官方示例还提供了Web界面,但是内网穿透没成功,感兴趣的同学可以尝试。
来源:Python有温度


发评论,每天都得现金奖励!超多礼品等你来拿
登录 后,在评论区留言并审核通过后,即可获得现金奖励,奖励规则可见: 查看奖励规则